Patient Scheduling
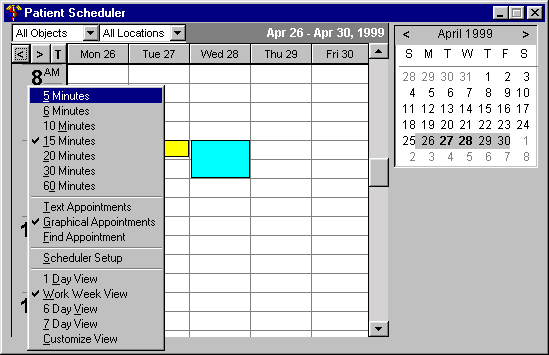
Patient scheduling is as simple as dragging and dropping a Patiend ID onto the schedule. The schedule can be configured to display a single day or multiple days. Choose time slots from 5, 6, 10, 15, 20, 30 and 60 minutes. Pick days to view using the Month View calendar.
FEATURE LIST
| Drag and Drop Simplicity | |
| Schedule Overlapping Appointments | |
| Filter by Doctor or Location or Both | |
| Define Multiple Doctor (each color coded) | |
| Define Multiple Locations | |
| Define Multiple Sub Locations such as Rooms | |
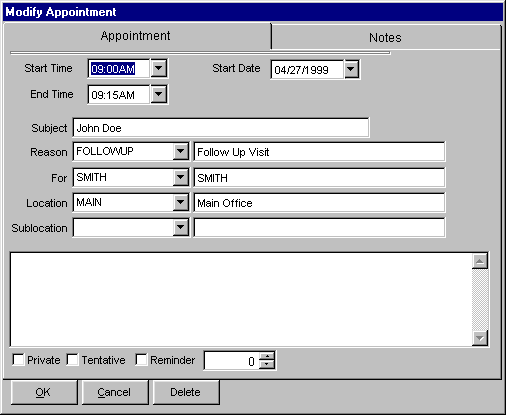
| Define Multiple Appointment Reason Codes | |
| Easily Configure the scheduler view. |
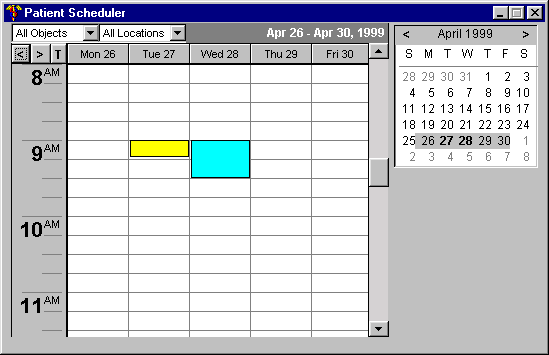
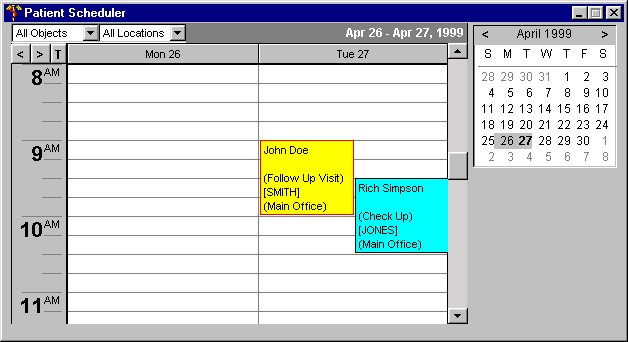
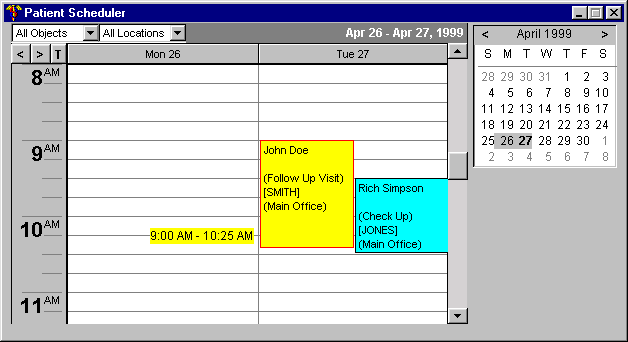
| Graphically Displays Appointments Patient Scheduler showing graphical display of appointments. Hovering over an appointment will display the patient name, doctor and location of the appointment. |
|
| Popup Menus to Configure Views Patient Scheduler Popup Menu from the time bar on the left side of the schedule. |
|
Select Doctor, Reason, Location and
Sub Location |
|
Overlap Appointments |
|
| Simple Appointment Sizing by Dragging Mouse To change the length of an appointment simply hold down the Shift or Control key and drag the top or bottom of the appointment up or down to the desired time. |
|